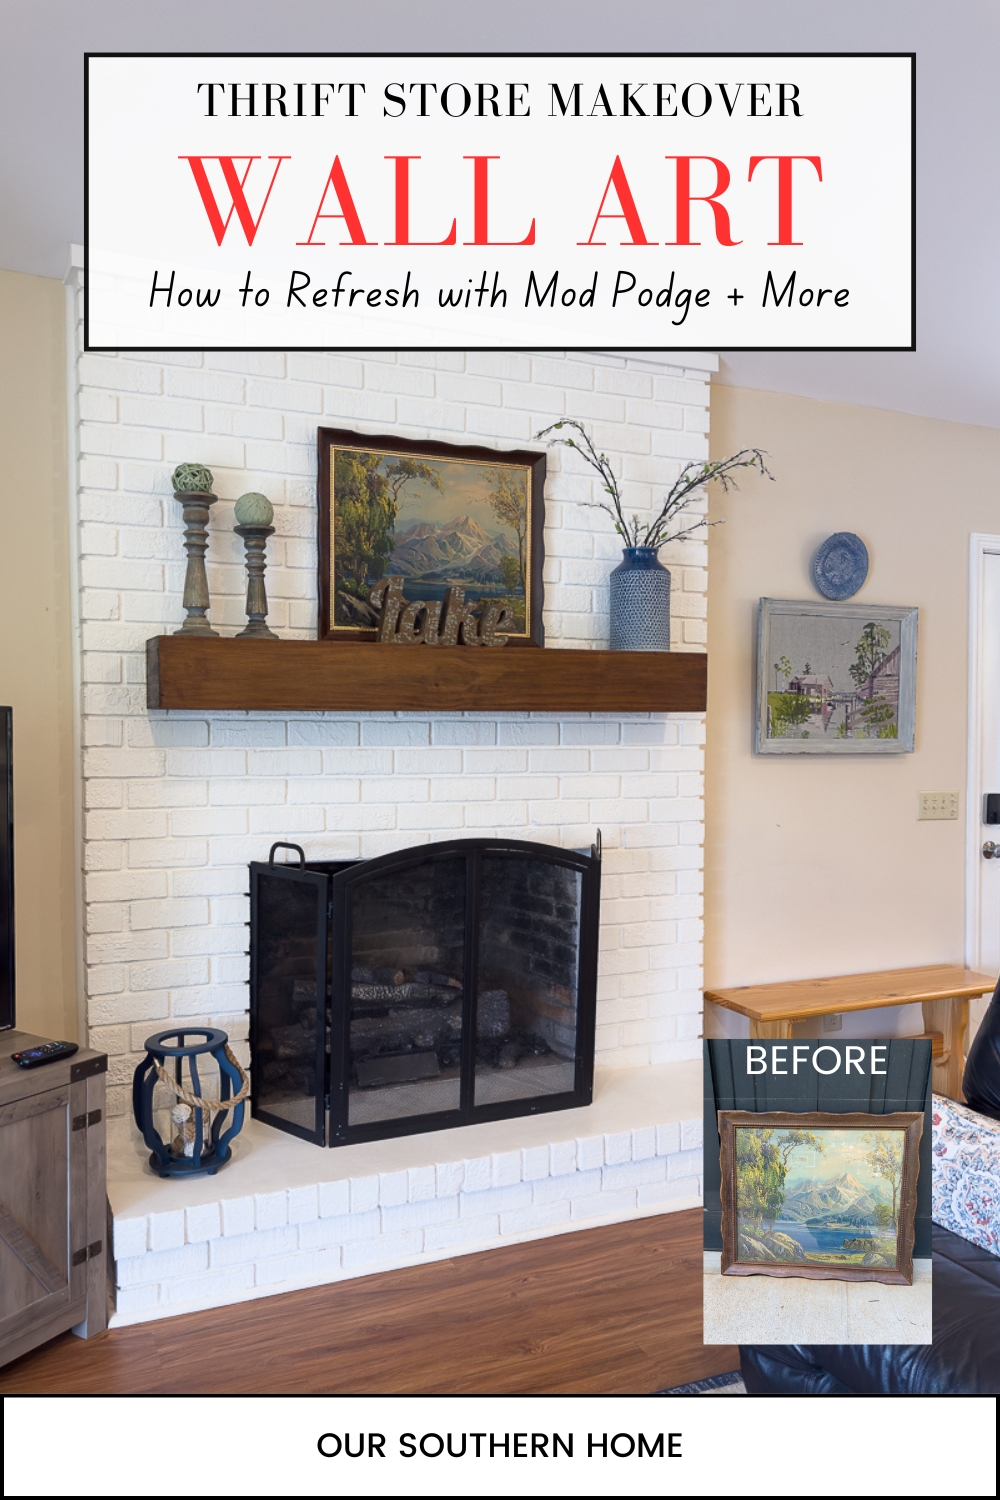
Thrift Store Art Makeover with Mod Podge
This thrift store art makeover with Mod Podge and refreshing the wood frame will have you decorating your home quickly on a budget.
Latest from OSH
- Saturdays on the Porch #72
- Over 45 Faux Pumpkin Craft Ideas
- How to Make an Easy DIY Faux Pumpkin Arrangement
- Thrift Store Art Makeover with Mod Podge
- Saturdays on the Porch #71
This post may contain affiliate links. If you purchase something using one of my links, I may earn a small commission from the retailer costing you nothing more. You can read more on my disclosure page. Christy Little of Our Southern Home is a participant in the Amazon Services LLC Associates Program, an affiliate advertising program designed to provide a means for sites to earn advertising fees by advertising and linking to amazon.com.
Thrift Store Makeover Day

Join us each month for NEW thrifty ideas from the team. You'll find links to all of the projects below.
Use the slider below to see the before!


It's no shocker…..I can't pass up great thrift store art. At the end of the post, I'll share more you can see on the blog.
My husband and his business partner own a lakehouse Airbnb. I have no part in it other than decorating it. He claims I'd make them no money if I were in charge. Ha, ha!
Over 2 years, we have made many improvements and continue to do so. They agree with most of my suggestions.
Thrift store art is all over this house. Some need cleaning to go straight on the wall. Others need a little tender loving care.
The Plan
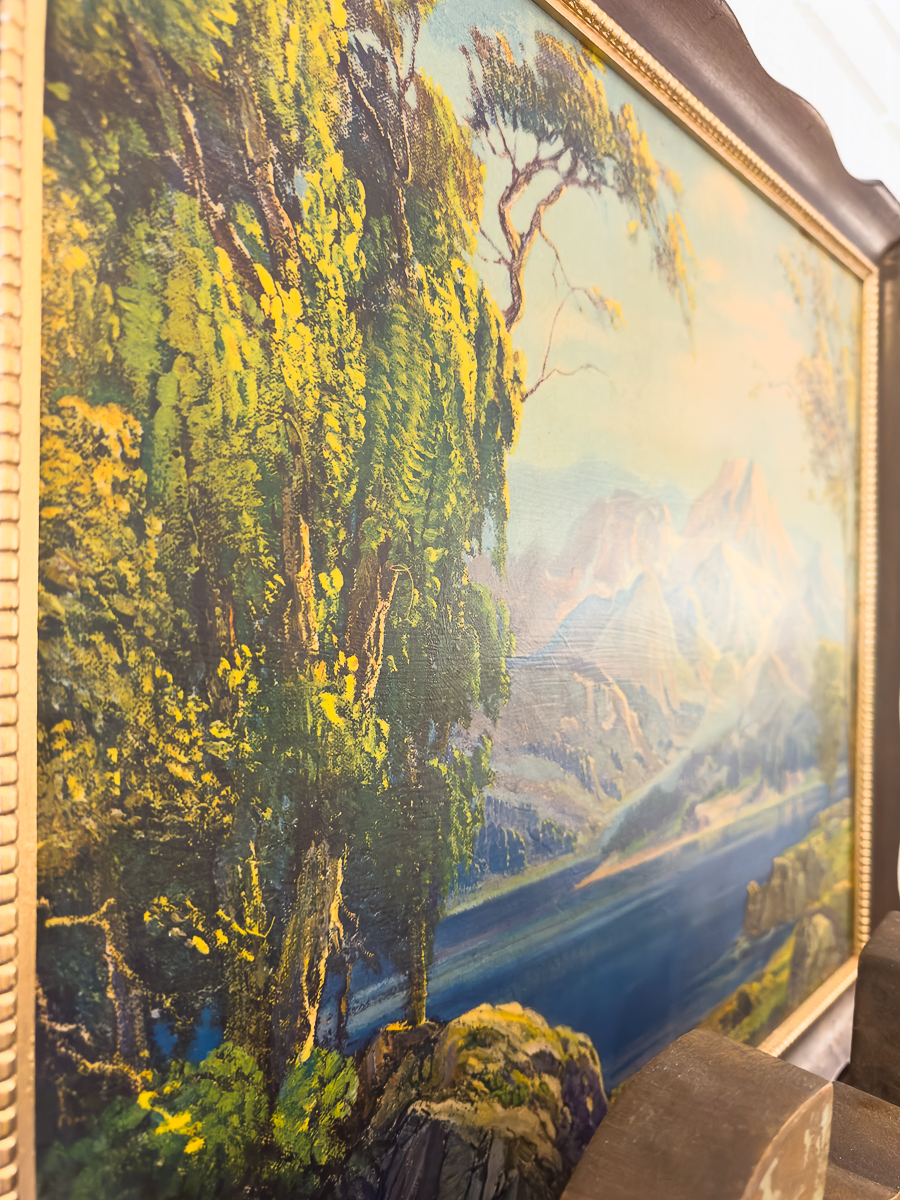
It is hard to tell with this one, but this mountain print is behind very dirty glass.
The frame is quite lovely but has seen better days. It is quite faded and full of scratches.
I needed a piece of art over one of the beds. In a rental, I prefer to use lightweight art over beds. This typically means no glass.
The frame has great bones and the print was perfect for the cottage feel of the lake house.
I am going to share with you how you can apply Mod Podge to an art print to use it without glass as well as how to refresh a wood frame.
Supplies Used
How-To
The first thing that you will want to do is disassemble the print from the frame. I disposed of the glass. Try to keep as many of the staples or small nails in place to reinstall the print at the end.
Clean the frame of all dust, dirt, and grime. Some cleaning wipes usually do the trick.
Refreshing the Frame
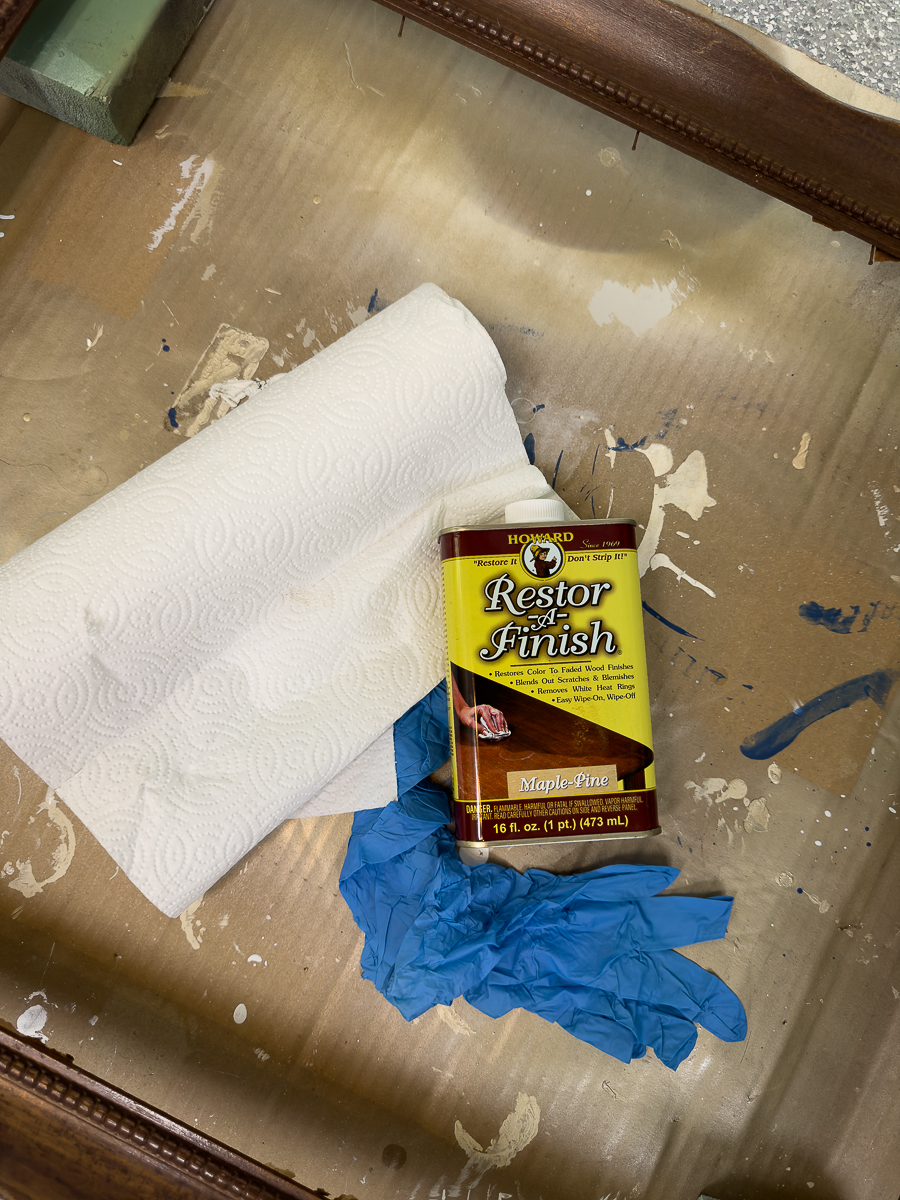
Restor-A-Finish is the quickest way to help your old wood finish look refreshed and new again. I used it on this ice bucket to turn it into a Christmas Tree stand. Wow, what a difference it made!
Apply it with a rag or brush while wearing rubber gloves. Then you will immediately wipe it off. Please be sure to read the instructions on the can. It is very simple to use. Let the frame completely dry. It dries quickly.
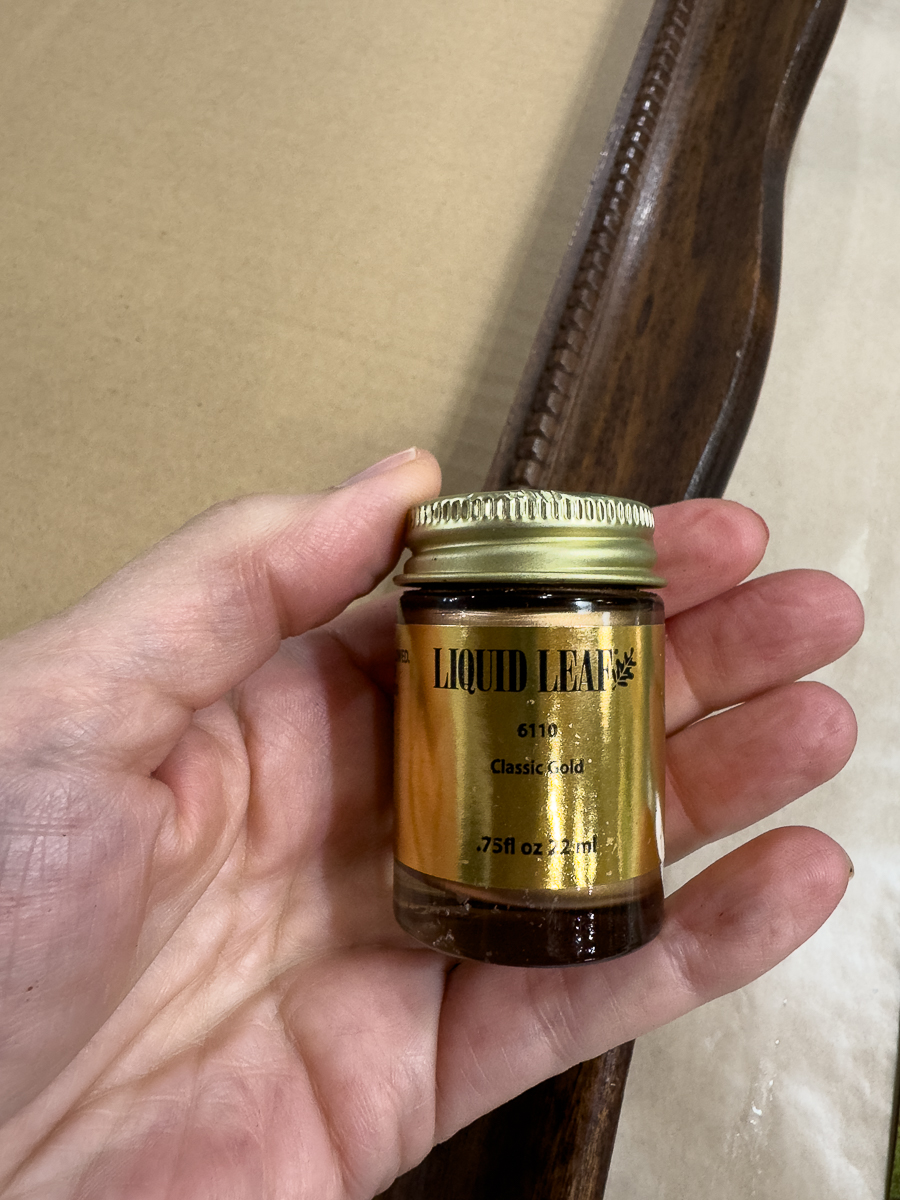
This liquid leaf is one of my favorite products for adding to frames and decor pieces.
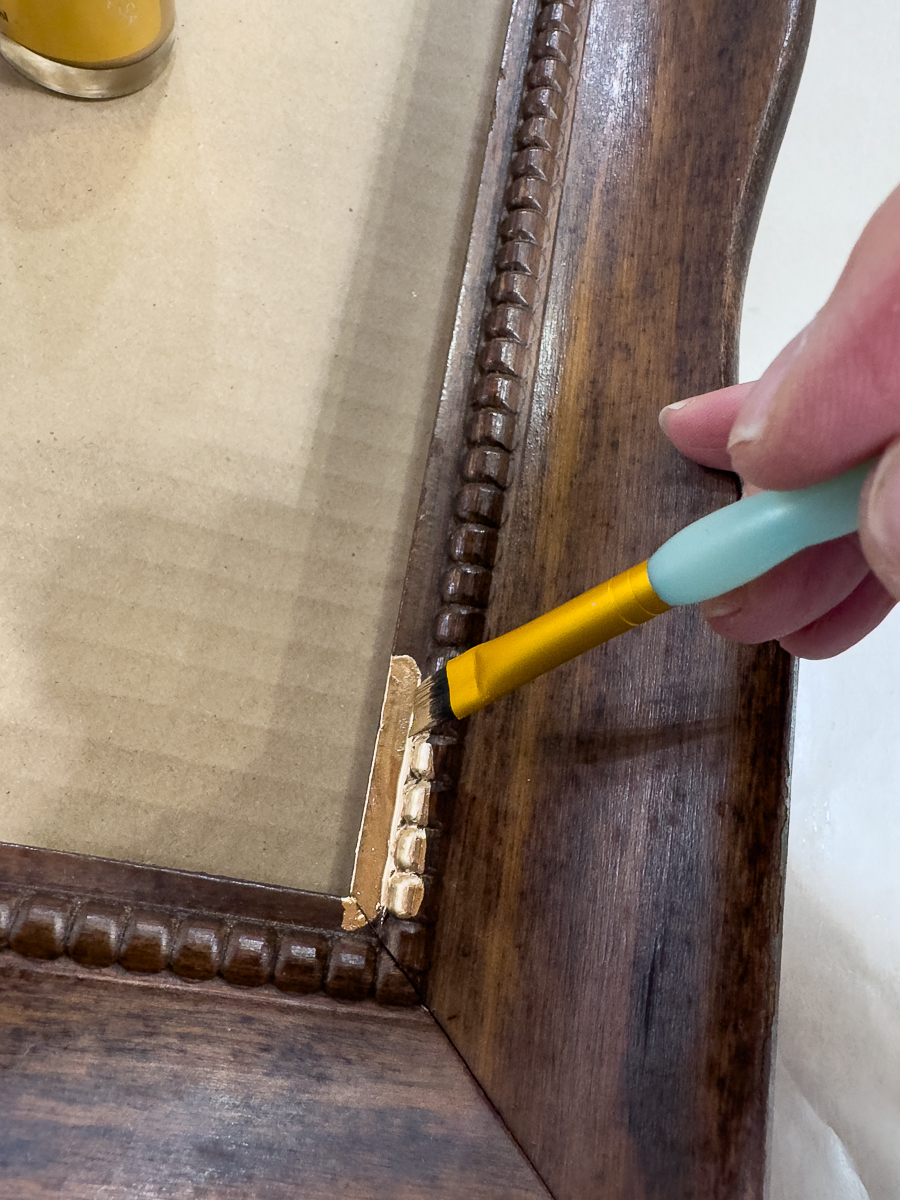
I tend to keep inexpensive artist brushes on hand for projects like this. It's easier to toss than have to break out the paint thinner to clean.
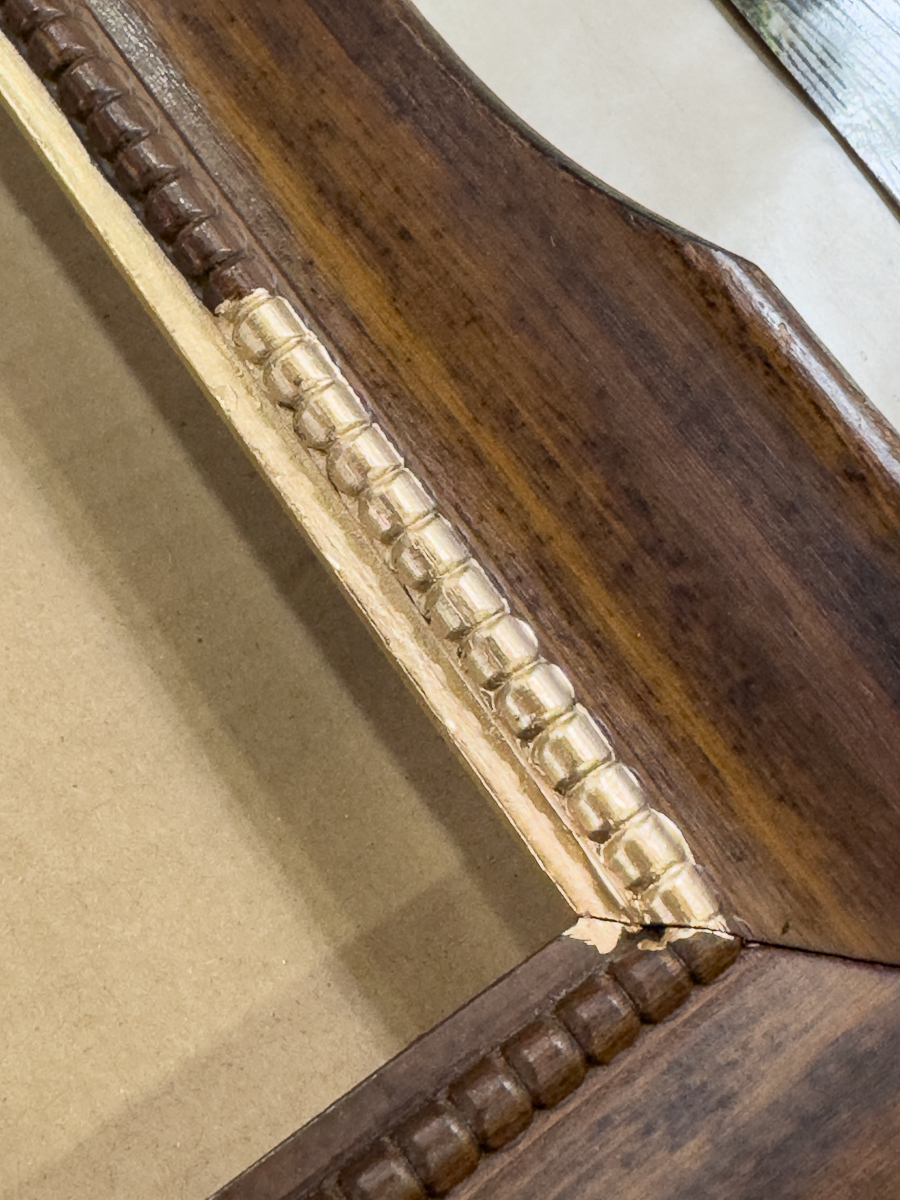
Slowly work your way around the frame. I only applied one coat.
Applying Mod Podge to the Print
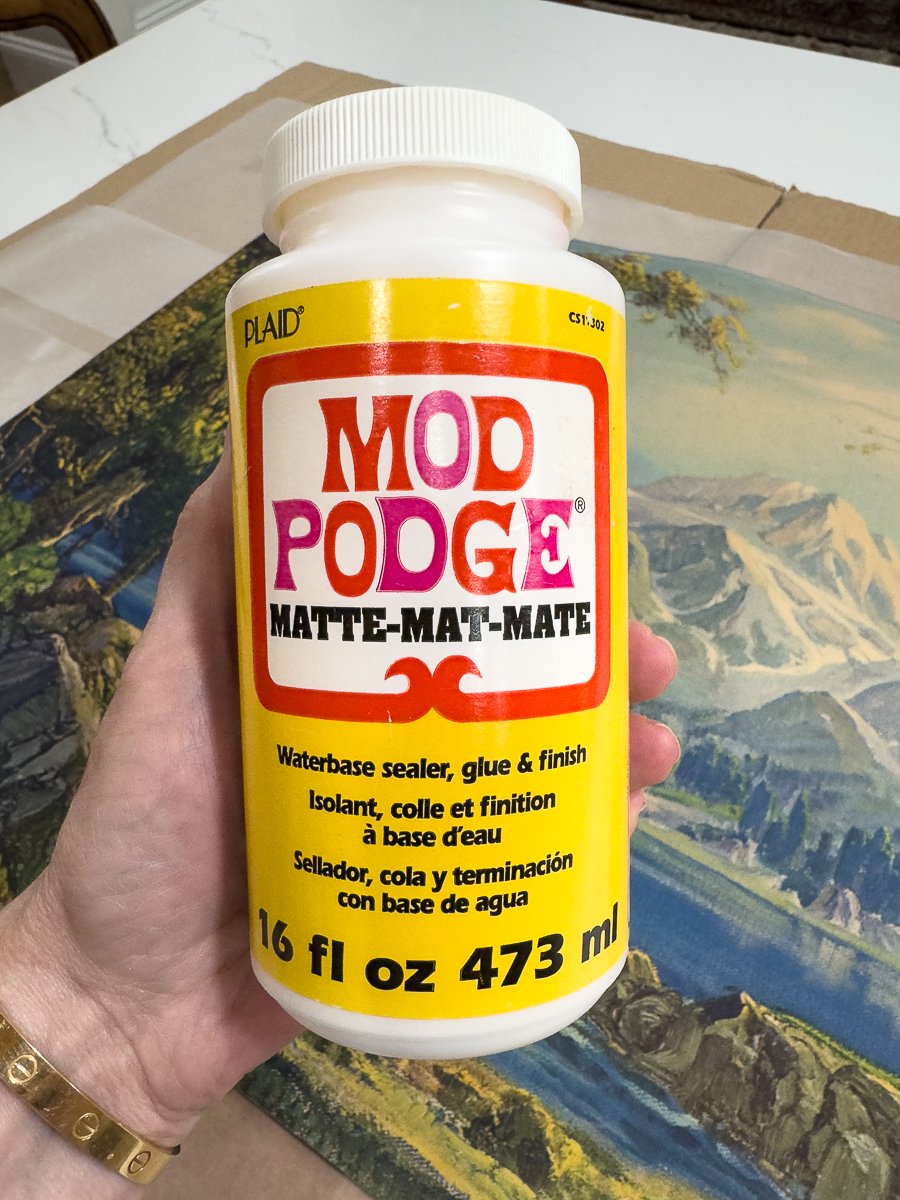
Mod Podge Matte is what I use the most when doing a project like this or like with these chinoiserie Christmas ornaments.
Depending on the project and medium, I find that it doesn't always have a true matte finish.
If you have a shiny finish that you are not happy with, we can fix it.

This print is old and fragile so you'll want to work carefully. It's thin paper and not a heavier glossy cardstock like some.
I like to place my Mod Podge projects on top of waxed paper. It releases more easily.
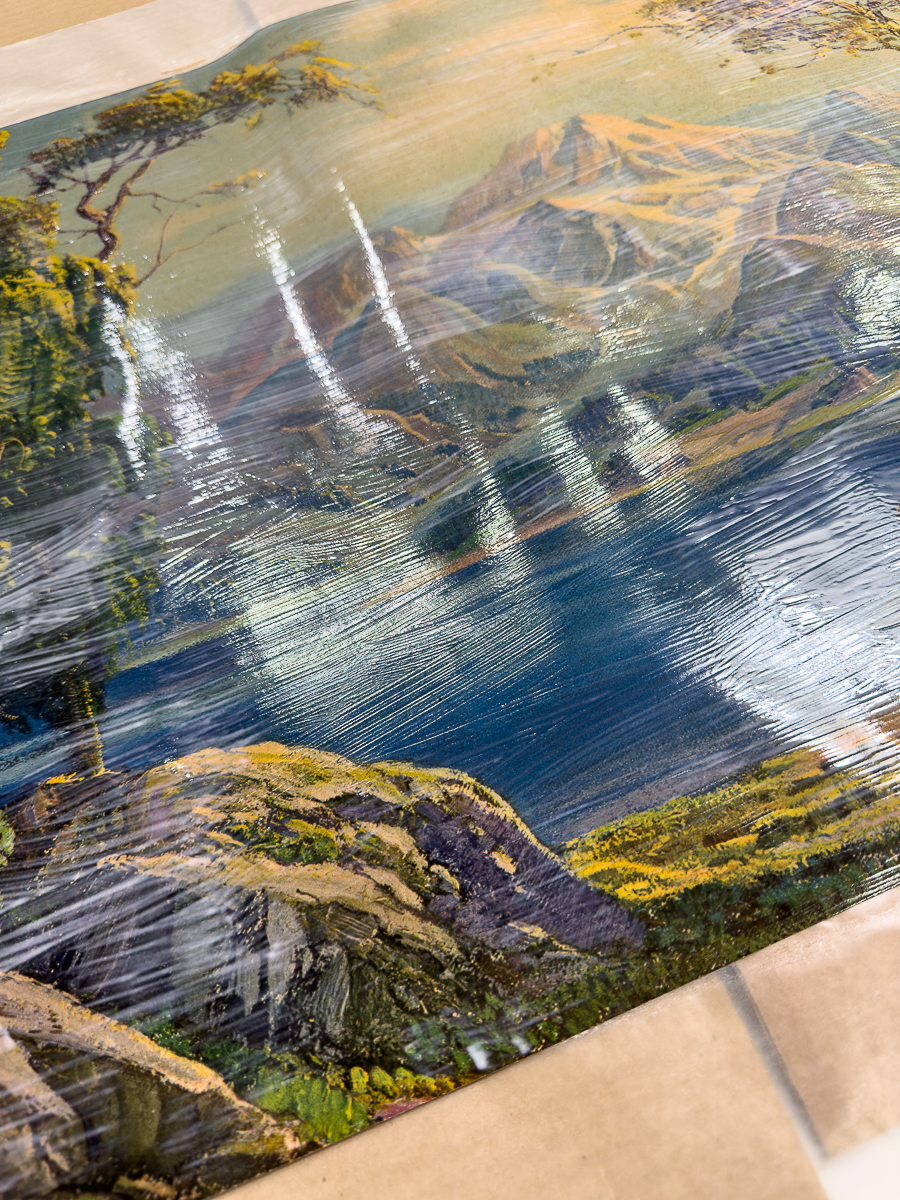
Apply your Mod Podge medium in a relatively haphazard way.
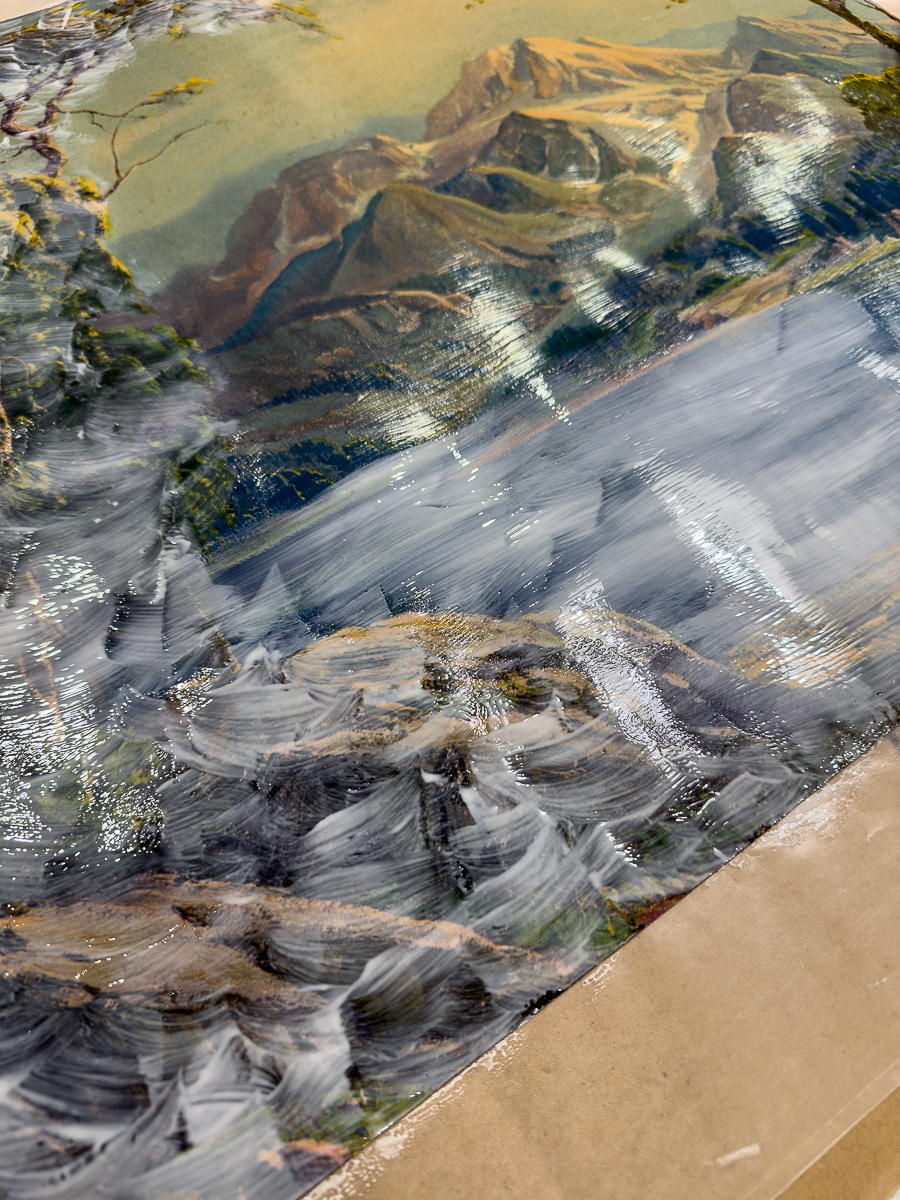
Notice how I applied the Mod Podge in different directions per the scenery.
I applied 3 coats. Let it dry completely overnight.
Finishing the Project
I had an old piece of foam board that had drawing marks on it from an old project from my kids. It was the perfect size to back my print on. I also need a bit of space to add structure to the frame since I was not using the glass.
I am going to show you what I did, but I want you to learn from my mistake and do the opposite.
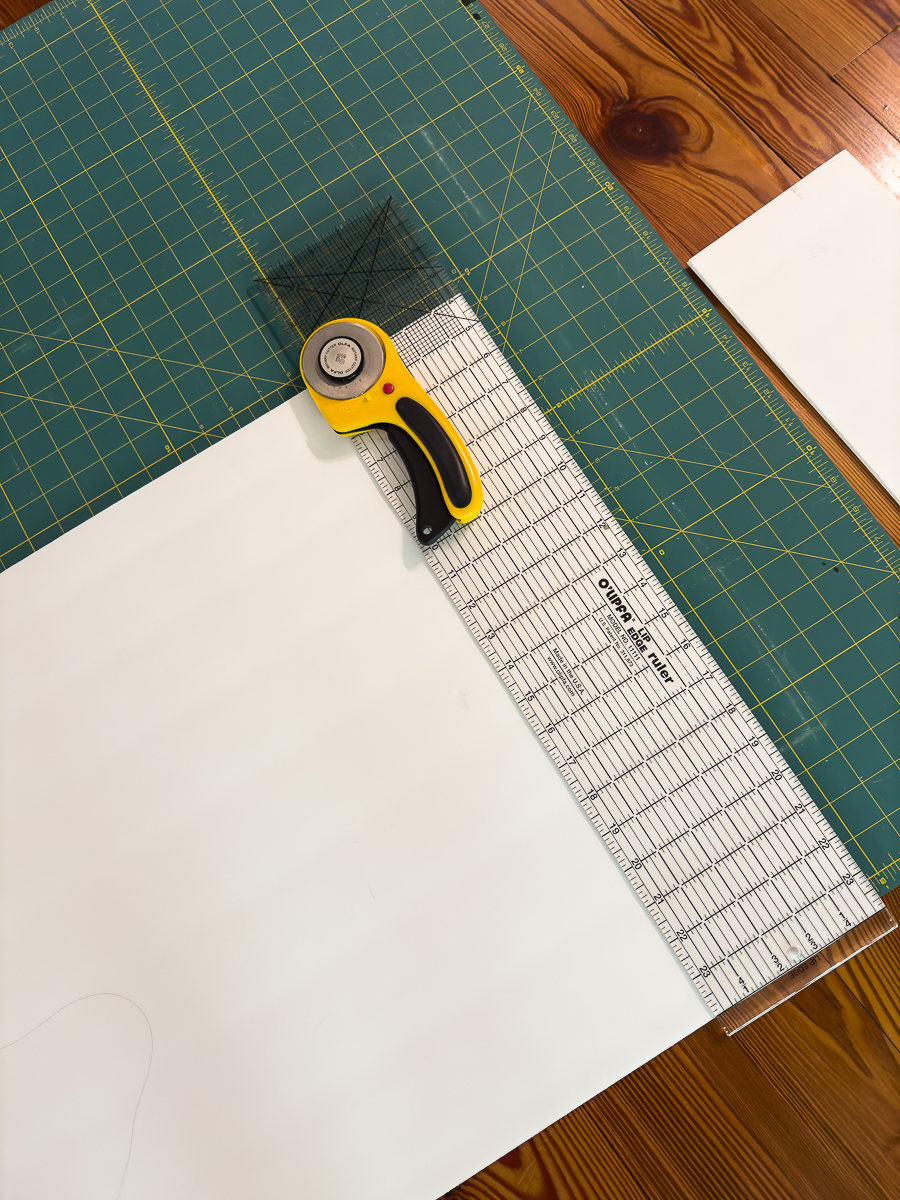
I used my rotary cutter and cutting mat to trim the piece of foam board to the exact size that I needed.
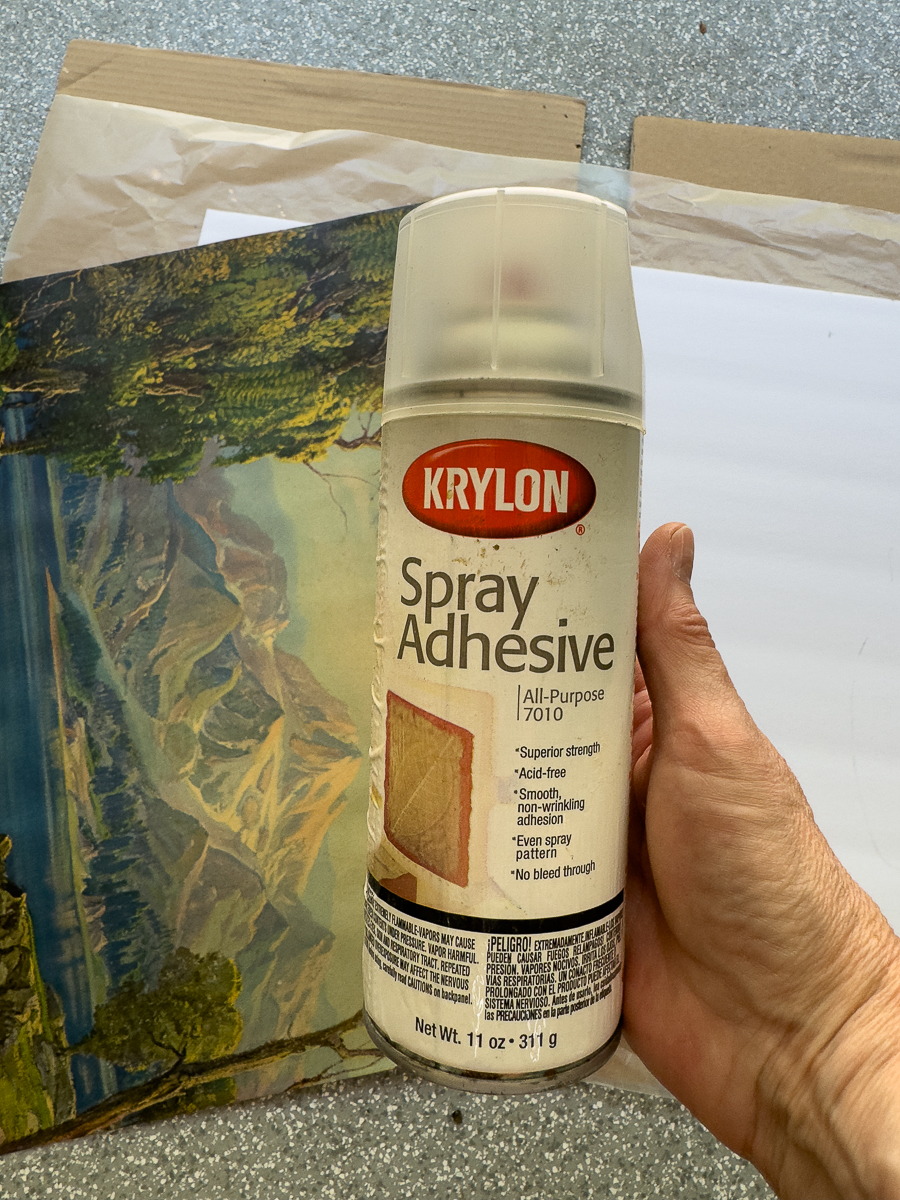
I then used spray adhesive to mount the print to the foam board.
I do NOT recommend doing it in this manner. Once it gets stuck, you can NOT reposition it or you will tear your print.
Do this instead! Apply spray adhesive to the back of your print. Then apply it to your foam board. Smooth it all out. It's best to apply it like you could a sticker. Apply one side then work your way to the other.
It won't matter if it's straight on the board. If you trim the foam board last, you can just easily trim the excess white off the board.
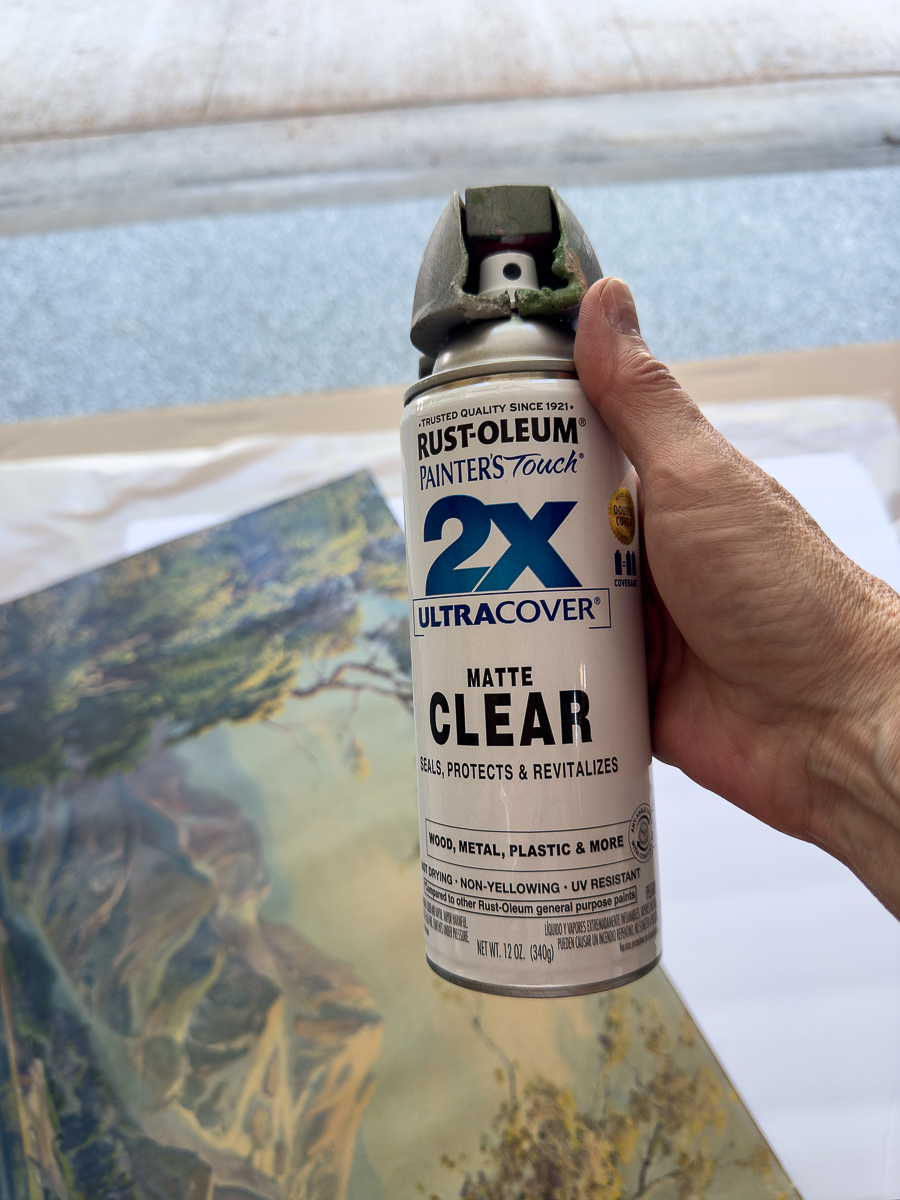
If your print ends up being too shiny, you can spray matte sealer on it either before or after mounting it to your foam board.
Assemble your print back in the frame minus the glass. The print is now protected to use without glass.
Styling the Wall Art
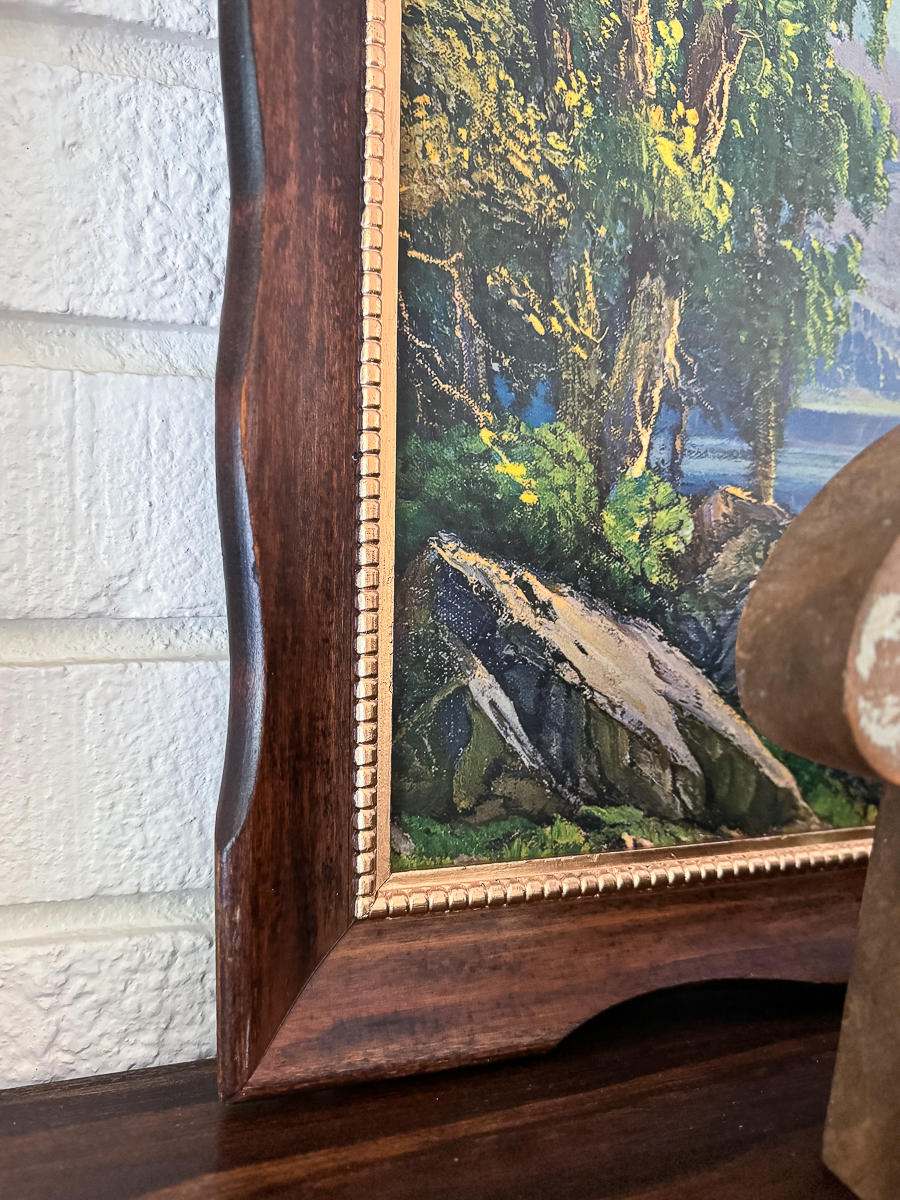
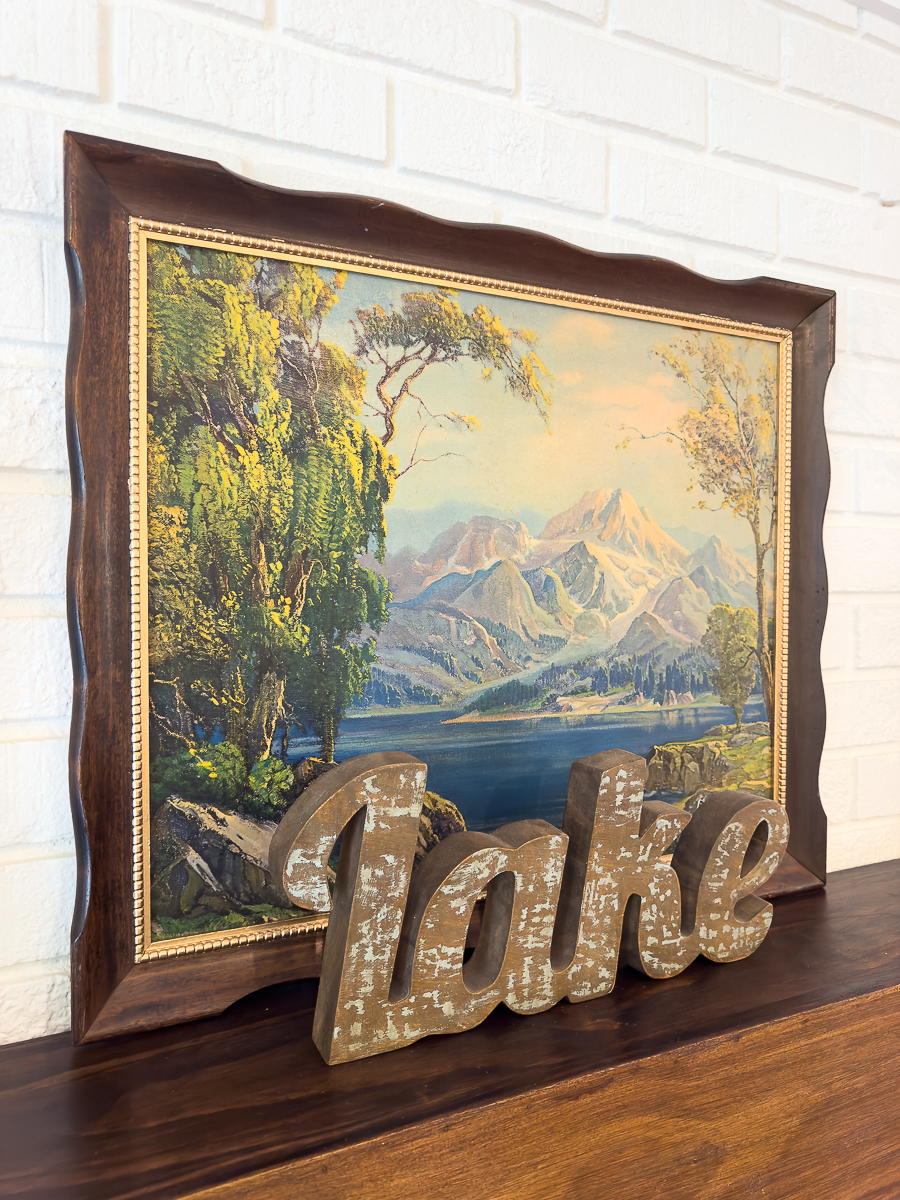
What a difference in the before and after of the frame. It's hard to see with the lighting, but the Mod Podge mimics brush strokes.
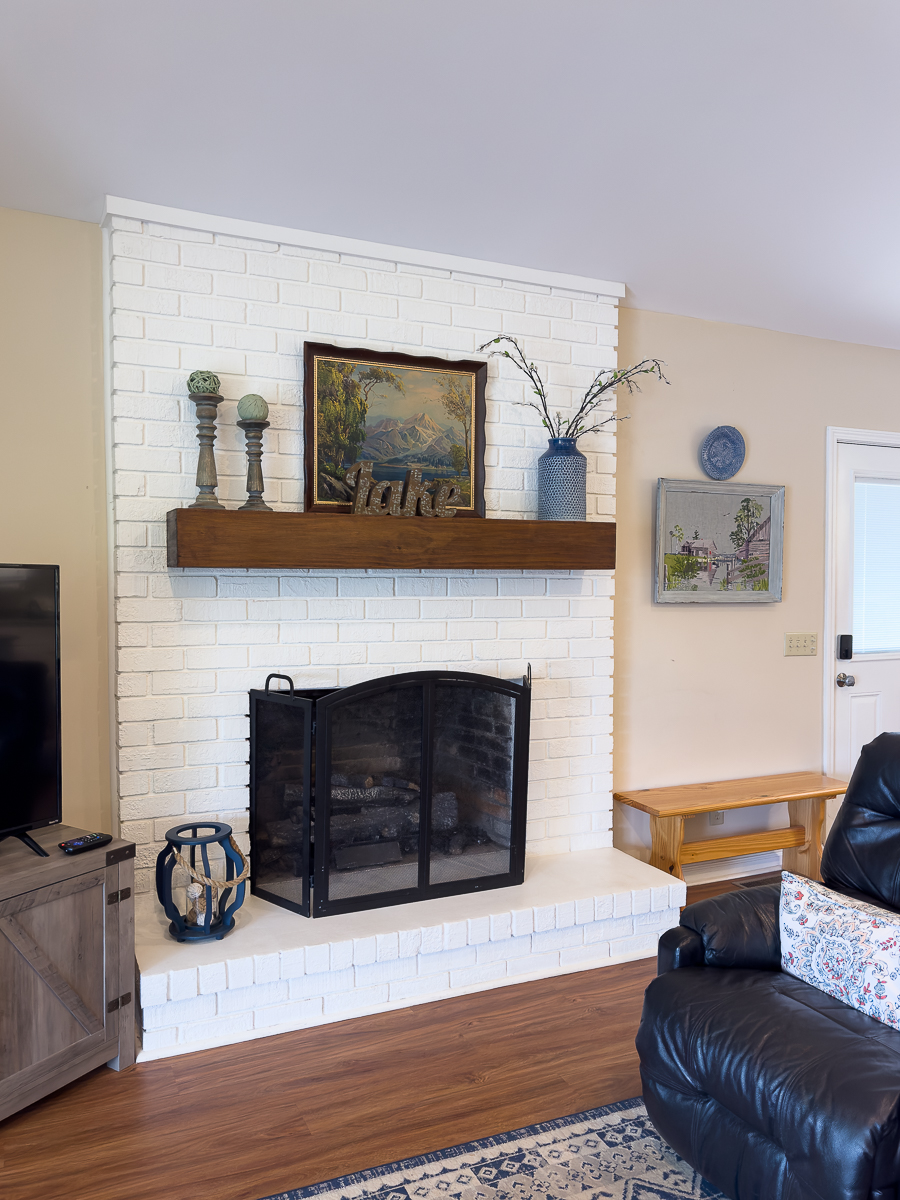
The day that we took it to the lake house was cloudy and rainy. I had more natural light in this room to take photos of the finished project. Notice the art to the right? It was a thrift store makeover as well. I used to use it on the screened porch, but it was a nice addition here.
Now it is lightweight and safer for use over a rental bed.
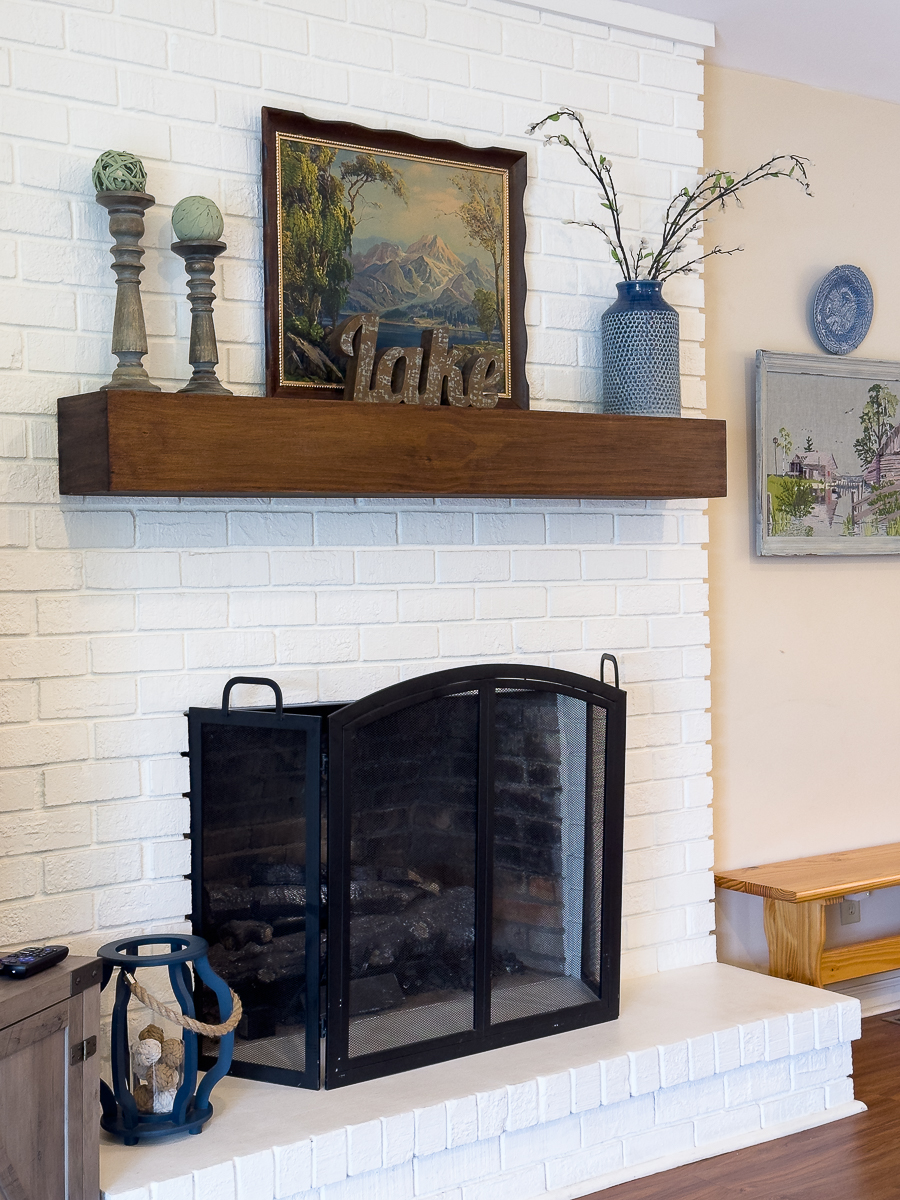
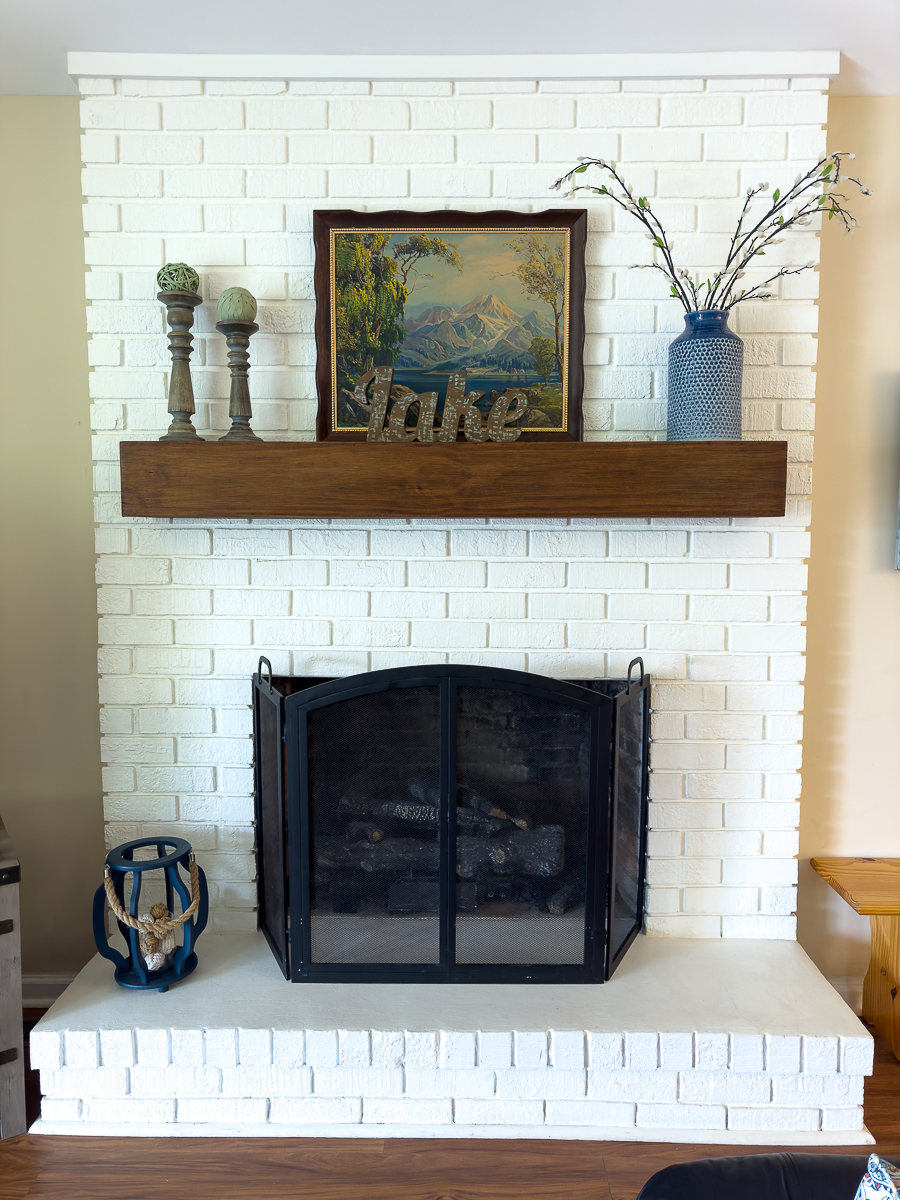
When they bought the house, the mantel was red brick with no mantel. This was one of the recommendations that they followed. It's such a big improvement.
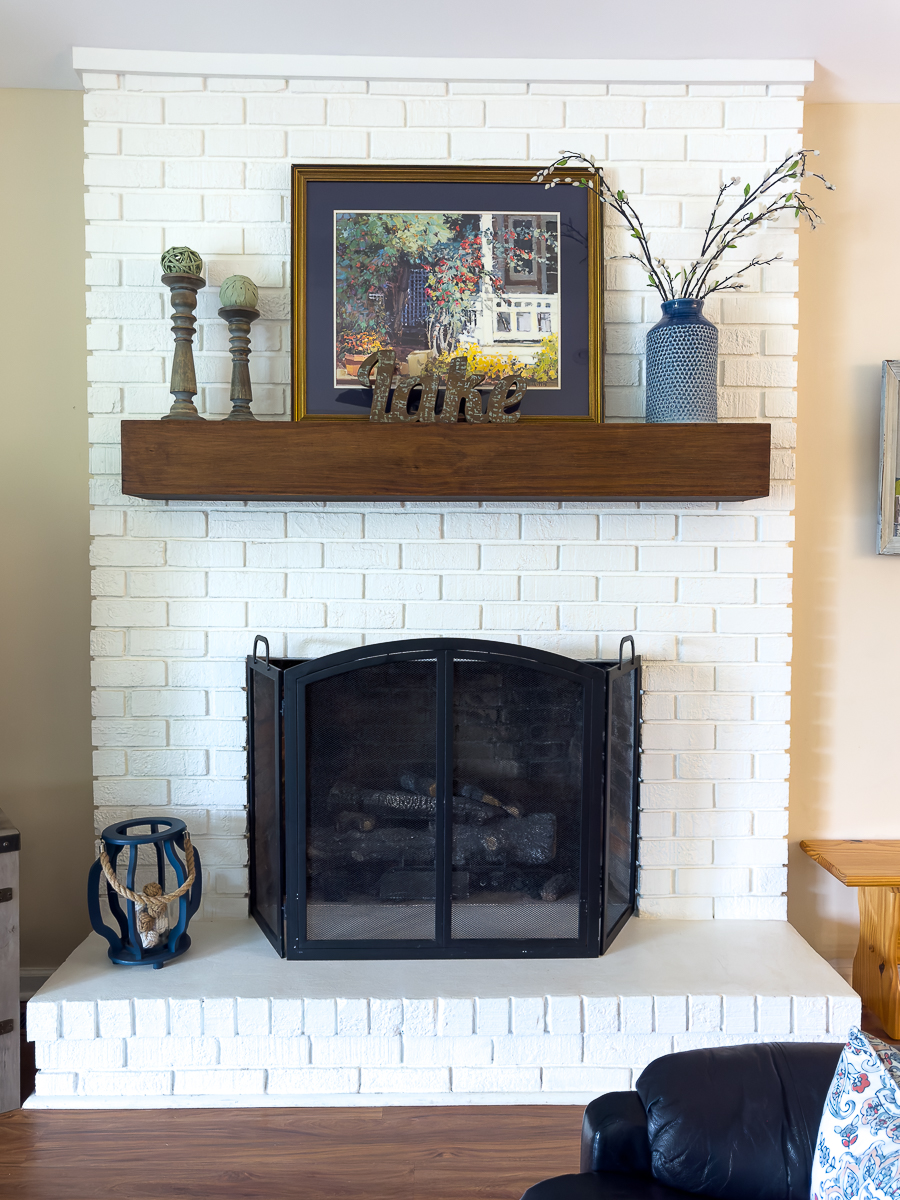
This is the artwork that is normally over the mantel. This was a thrift store find as well that just needed cleaning.

Here it is in its final spot. We just added the new quilt. I'm impressed with its quality. It is also reversible. I am on the lookout for thrift store lamps to replace some of these original ones in old-world style.
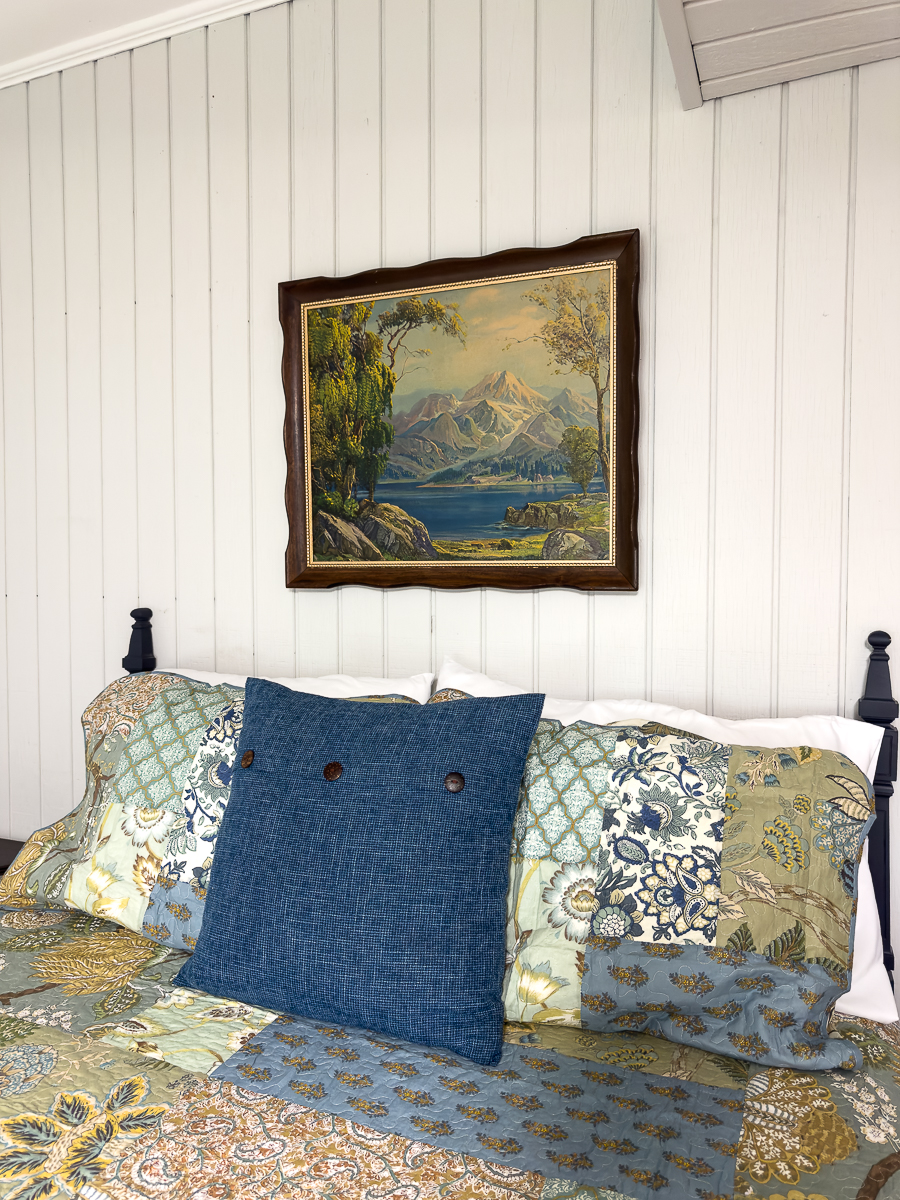
Not bad for a $7.99 piece of artwork.
I hope you are inspired to try this with a piece of thrift store wall art. Check out the team's projects below!
Check out the other projects from the team!
- Vintage Picnic Basket Makeover – My Repurposed Life
- How To Repurpose A Paint Can – Petticoat Junktion
- Art Makeover With Mod Podge – Our Southern Home
- Upcycle Idea For Under Cabinet Paper Towel Holder – Sadie Seasongoods
- Upcycled Bundt Pan Pumpkin – My Uncommon Slice of
- Create Your Own Bottle Trees – Shop At Blu
- Repurposed Rustic Table Centerpiece – House Of Hawthornes


While we were here, we put together this polywood set that we purchased on Prime Day. The original set finally bit the dust. I was not disappointed. My husband put the chairs together at home. I was afraid the table would be too heavy for me to help get up the deck stairs. I was right. It was much easier to carry it up in pieces.
I plan to go up to the lake soon and take new photos of the lake house to put on the Airbnb site. I'll share them here when I do.


Christy has been creating content for Our Southern Home since 2012. She has been featured in numerous print and online publications. Her classic, eclectic design approach spans her home and fashion style. Christy has a way of mixing store-bought with thrift store, antique and vintage finds. As a recent empty nester, she is having fun navigating this new stage of life. Read more about Christy HERE. Be sure to subscribe below. You can also contact me HERE.
This is really pretty, you did such a great job restoring this beauty!
Christy,
I just redid a piece of home interiors artwork for my vacation home. I painted over the entire thing, glass and all to act as a faux panel.
But I’ll look at thrift store artwork in a whole new way, after seeing your project. I love how the mod podge makes it look hand painted.
pinned!
gail
What a great way to update and revitalize these vintage beauties!